Peanut Butter and Chocolate Cheesecake
Ingredients
2 cups Oreo crumbs
2 tablespoons butter, melted
4x 8 ounce packages cream cheese, room temperature
5 eggs, room temperature
1 cup packed brown sugar
1 cup peanut butter
1/2 cup heavy whipping cream
1 tablespoon vanilla
1 bag mini peanut butter cups
Topping:
1/2 cup peanut butter
6 ounces semi-sweet chocolate chips
3/4 cup heavy whipping cream
10+ mini peanut butter cups (saved from the cheesecake ingredients)
Directions
Make sure your cream cheese and eggs are room temperature.
Preheat oven to 350.
To create your Oreo crumbs, throw them in the food processor like I did, or if you don't have one, just stick them in a zip-lock, squeeze the air out, and roll a glass cup over the bag until there are no big chunks left.
Pour melted butter over crumbs and mix well.
Press into the bottom of a 9" springform pan and bake for 5 minutes. Cool.
Beat cream cheese with a mixer until smooth.
Add eggs, one at a time, beating well between each.....it was at about this point, I was wishing I had a good stand up mixer! ha.
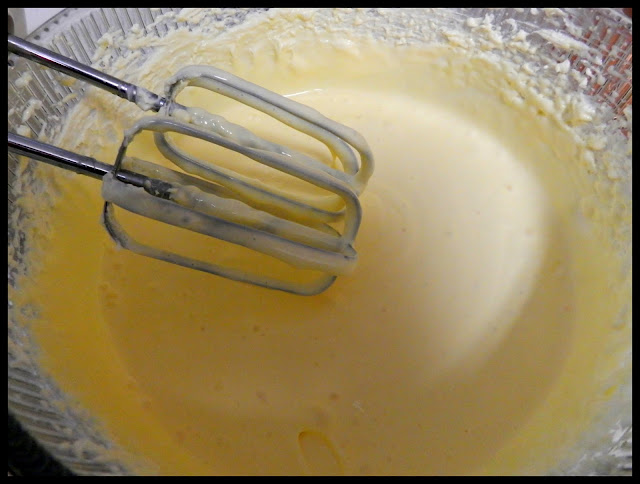
Here is what it will look like with all the eggs mixed in. I got a little nervous at this point because it was sooooo runny..but don't you fret, if your thick cream cheese just turned into soup, your doing just fine.
Add sugar, peanut butter, and whipping cream; mix thoroughly.
Now the vanilla......ok, maybe I took too many pictures.
Now chop up those peanut butter cups as coarsely or fine as your little heart desires, or don't. mmmmm...don't they look delish?!
Now pour half the cheesecake mixture into your cooled crust and layer with the 2 cups of Reese's you just chopped. *keep in mind the chocolate will sink a little, so I would suggest adding more like 3/4 of the mixture if you want your peanut butter cups in the middle of the cheesecake...mine ended up on the bottom.*
Then top with the remaining cheesecake mixture.
Now throw that bad boy in the oven for about an hour. The sides of the cheesecake should be set, but the middle will be a little jiggly, but NOT runny. Mine didn't take quite an hour, others may take 1 1/2 hours, just watch it closely.
*unfortunately, my poor cheesecake cracked BIG TIME!! I've done some research since on how to keep that from happening, but feel free to give me some tips!!*
So if yours cracks like mine did, don't worry.....the chocolate doesn't mind going in the cracks ;)
Cool slightly then put it into the refrigerator for at least 4 hours! (it was actually much better today, so making this the day before you serve it would be ideal.)
Now melt your chocolate chips in a double broiler, or if you don't have that kind of fancy equipment, you can just do it in a...eh em...sauce pan..eek like I did. Remove from heat and add all but 1 tablespoon of the whipping cream. Stir until smooth.
sorry, no pic.
Then pour over the cool cheesecake (while still in the springform pan.) See, now no one will ever even know she was cracked :)
Refrigerate for 30 minutes...I know, I know, you're just dying to get a slice of this stuff! But waiting really does pay off for it to get nice and set.
While you're waiting, place peanut butter and 1 tablespoon of whipping cream in a bowl and microwave until its a runny consistency. It will look something like this...weird pic?
Now throw whatever you have left of the peanut butter cups on top in whatever fashion you'd prefer....I originally had 10 leftover to use on top, but they kinda dwindled down to 7. somehow. ;)
And there you have it!!!!! I know this was a long tutorial, and I hope I haven't made it sound hard, because it wasn't! Believe me, if I can do it, so can you!
*oh, and make sure you serve this with like a GALLON of milk....seriously, so rich.*
I had some leftover chocolate, so I just melted it, drew some designs on some wax paper, threw it in the freezer for about 10 minutes and topped the birthday boys piece with them :) Fun way to jazz it up.
Happy Birthday to my hard-workin', Jesus-lovin', couldn't-live-without-you, man =)


No comments:
Post a Comment
I always love hearing your thoughts! Please leave a comment :)